
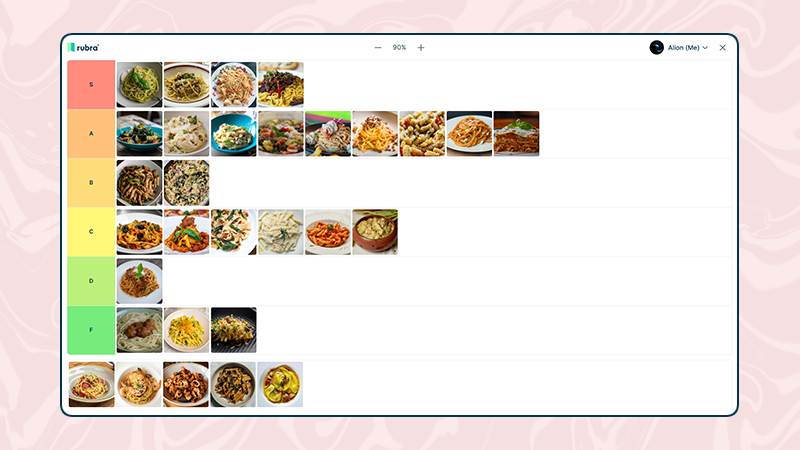
A tier list is a fun and interactive way to rank items based on your personal preferences. Organize anything from movies and video games to travel destinations, recipes, or products into tiers, usually from best to worst.
With Rubra, you can add almost any type of content to your tier list, including images, bookmarks, notes, and more. Arrange your items into tiers, customize their names and colors, and create your own unique ranking.
Once your tier list is ready, share it with your audience and let them create their own versions. Compare their rankings with yours, discover new favorites, and get your audience involved in the conversation.
Step-by-Step Tutorial
Create a new collection
- Click on “Collections” in the main navigation.
- Click on create a collection
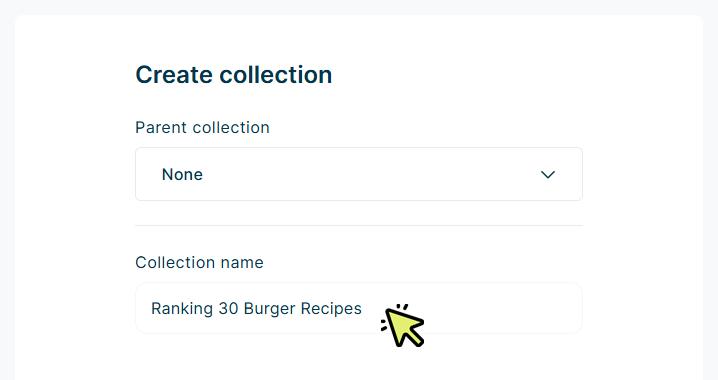
Name your tier list. You can use up to 50 characters.
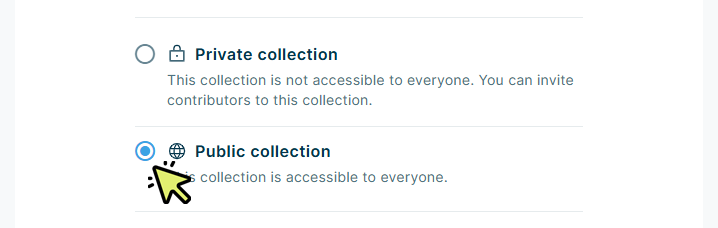
Make your collection public so you can share your tier list with your audience. You can change this setting at any time.
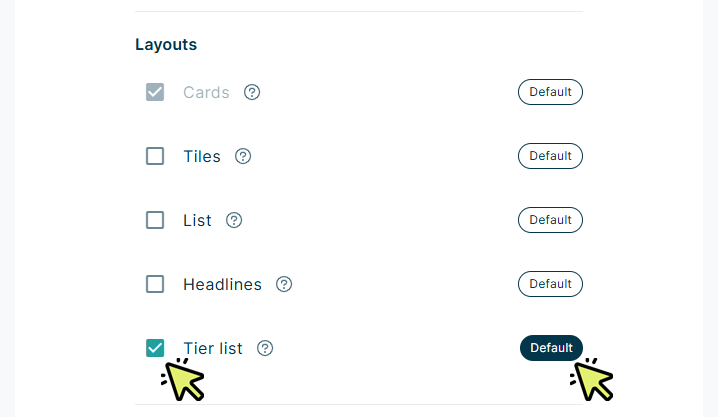
Select the Tier List layout and set it as your default. You can deselect any layouts you don’t need.

Click Create new collection to create your tier list.
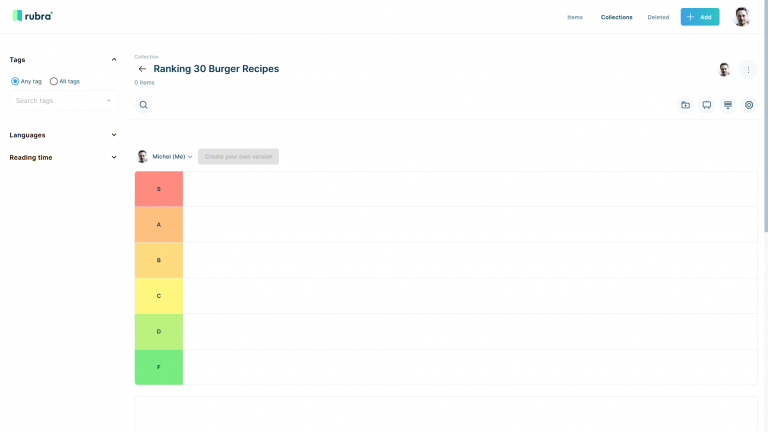
Tier List Layout Settings
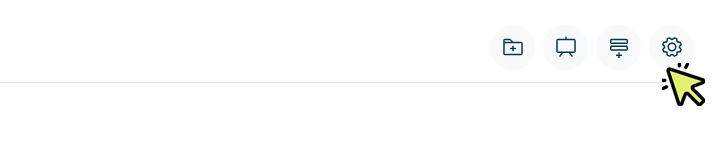
Click the cogwheel icon in the top-right corner to open the layout settings.
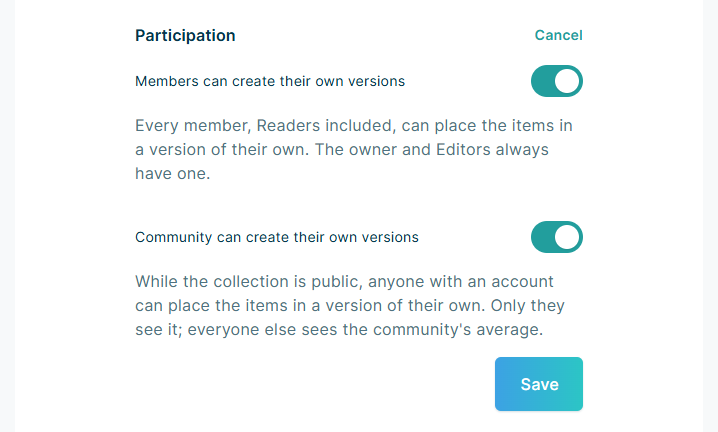
In the Participation section, you can choose who is allowed to create their own version of your tier list.
Members: If you’ve invited people to your collection as contributors, they can create their own version of your tier list by default. You can view their versions and compare them with your own. Deactivate this option if you don’t want contributors to create their own versions.
Community: When this option is enabled, anyone in your audience can create their own version of your tier list. The results are summarized under Community, allowing you to compare them with your own version. Deactivate this option if you don’t want your audience to create their own versions.
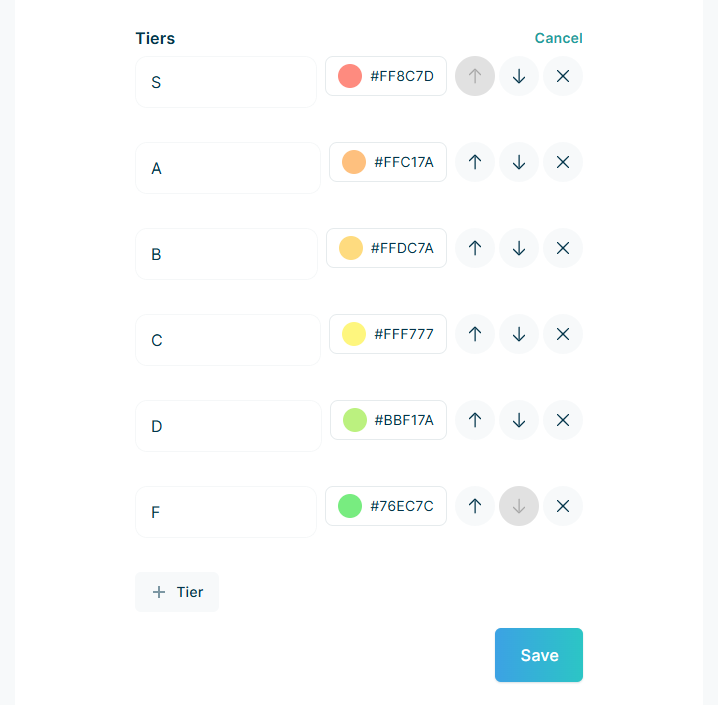
In the Tiers section, you can rename tiers, change their colors, rearrange their order, and add or remove tiers. You can create up to 20 tiers.
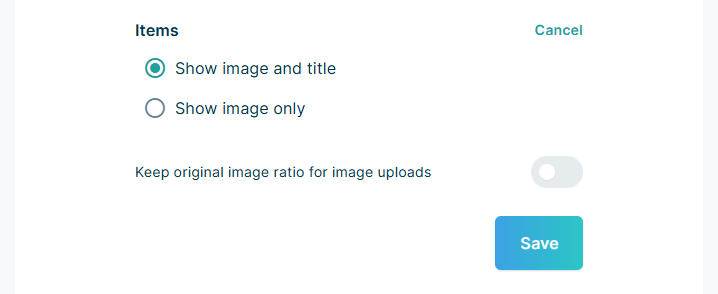
In the Items section, you can choose how items appear in your tier list. By default, Rubra displays each item’s image and title. You can change this setting to show only the item’s image. Note: You cannot hide the domain displayed on bookmark items.
When you upload images to Rubra, they are automatically converted to landscape format by default. If you want to preserve the original aspect ratio of your images, enable the Keep original image ratio for image upload option.
Add items to your tier list
There are several ways to add items to your tier list, both on desktop and mobile.
Desktop
Manual: Click Add in the top-right corner to add an item manually. If your tier list is open while you add the item, it will be added directly to your tier list. Otherwise, click the Add to collection icon below the item and select the collection you want to copy or move it to. You can also use bulk actions to select and move multiple items at once.
Browser extension: We recommend installing the Rubra browser extension, available for Chrome, Edge, Safari, and Firefox. Once installed, simply right-click any webpage and select Add page to Rubra or Add image to Rubra to save content quickly.
Mobile
Manual: Tap the Add icon at the bottom center of the screen and select the type of item you want to add. Once the item has been added to Rubra, tap the Add to collection icon below it to copy or move it to your collection. You can also use bulk actions to select and move multiple items at once.
Sharing: If you have the Rubra mobile app installed, available for Android and iOS, you can share webpages directly from your browser to Rubra. Simply tap your browser’s share icon and select Rubra as the destination. You can also upload images by opening your image library, selecting an image, and sharing it with Rubra.
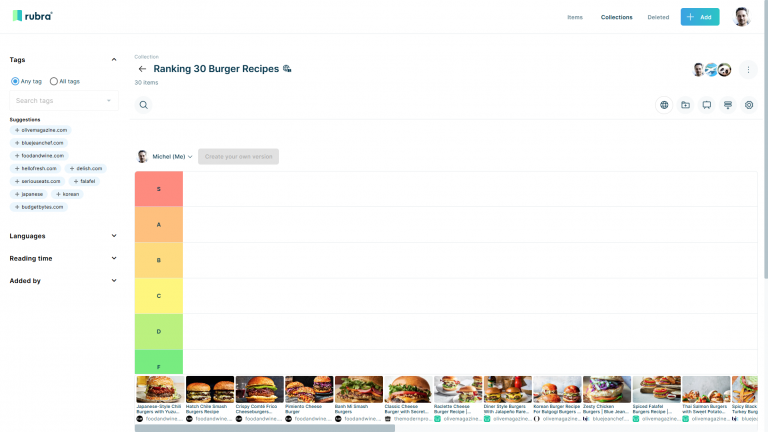
Your items now appear in the queue at the bottom of the screen, ready to be placed into tiers.
Record Your Tier List
On desktop, Rubra offers a dedicated Presentation Mode that lets you record videos in a distraction-free environment, with most interface elements hidden.

Click the Presentation Mode icon in the top-right corner to open the presentation launcher.
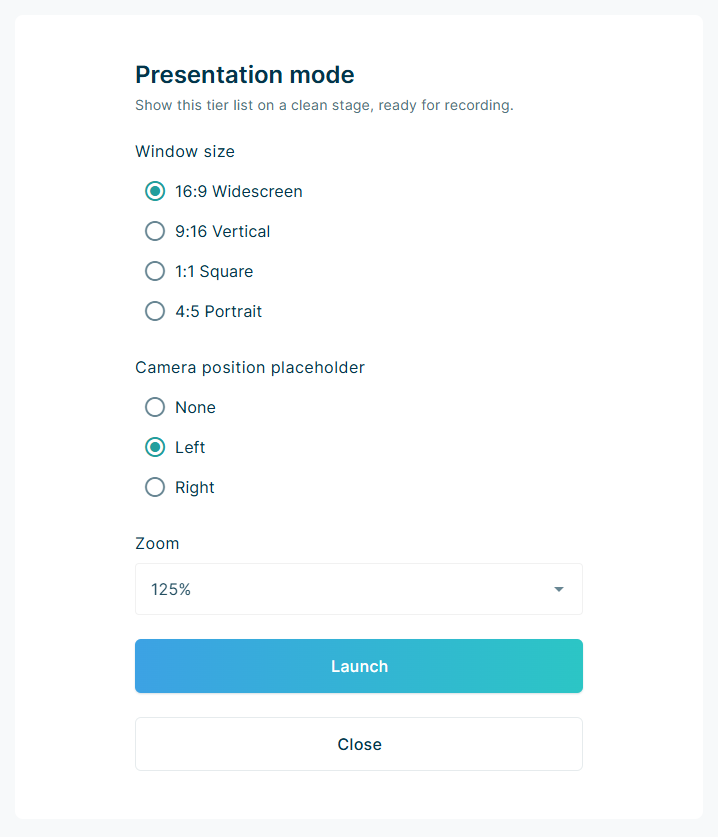
The presentation launcher offers several recording formats to match the platform you’re creating content for.
16:9 Widescreen: Ideal for standard YouTube videos, Facebook videos, and other widescreen content.
9:16 Vertical: Perfect for YouTube Shorts, TikTok, Instagram Reels, and Facebook Reels.
1:1 Square: Suitable for Instagram and Facebook feed posts, as well as other social platforms.
4:5 Portrait: Great for Instagram and Facebook feed videos, where the taller format helps your content take up more screen space.
In Widescreen and Vertical modes, you can also choose to leave space for your webcam. Rubra will create a layout with a dedicated area where you can position your webcam recording alongside your tier list.
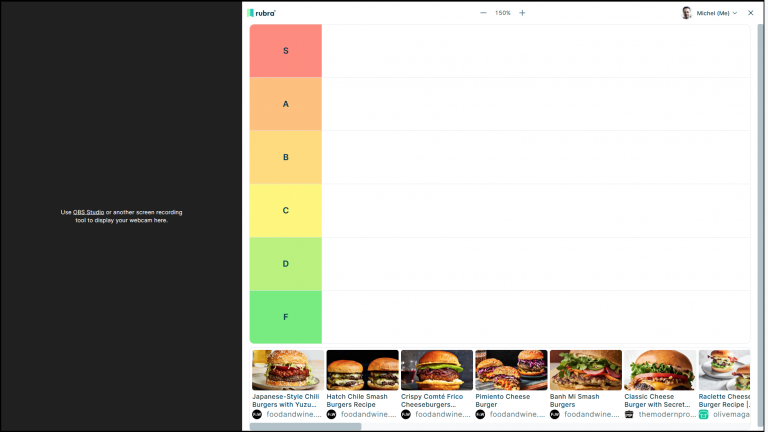
Presentation Mode opens in full-screen mode. Use the zoom to fit the content perfectly (top center). Open a screen recording tool such as OBS Studio and select the Rubra window as your recording source.
Next, add your webcam as a separate layer in OBS Studio and position it in the space Rubra has reserved for your webcam.
Once everything is set up, hit the Record button and start sorting your items into the tiers by dragging and dropping them into the desired tiers. Your tier list and webcam will be recorded together, ready to share with your audience.
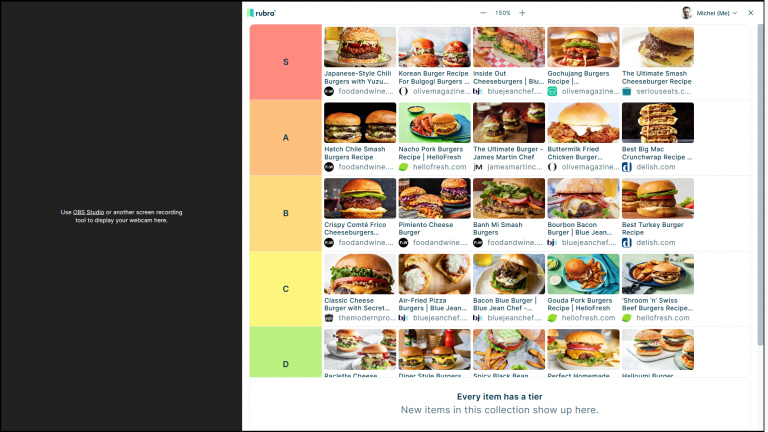
Once you’ve finished sorting your items into tiers, stop the video recording and exit Presentation Mode by clicking the Close button in the top-right corner. This will take you back to the presentation launcher. Click Close again to return to your collection.
Share Your Tier List Video
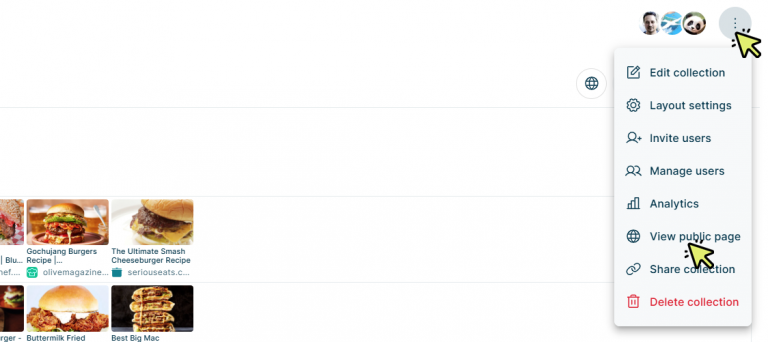
To get the link to your public tier list, click the three-dot menu in the top-right corner and select View public page.

Above your tier list, you’ll see a message indicating that you’re viewing a preview of your tier list. Click the link in the message to copy the public URL to your clipboard. Paste it somewhere safe so you can easily access it later.
Now publish your video wherever you like and add the link to your public tier list in the video description or wherever you can share a link. Let your audience know they can use the link to explore your tier list in detail, open individual items, discuss them with others, or create their own version of your tier list and compare their results with yours.
Compare Results
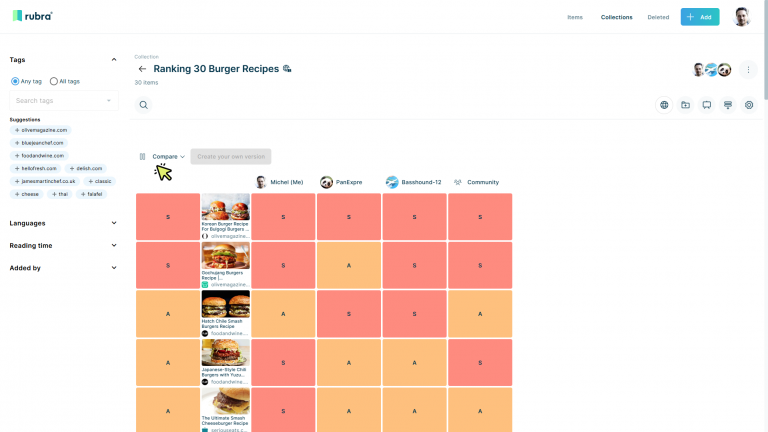
Once your invited contributors or members of your audience have created their own versions of your tier list, click the profile dropdown menu in the top-left corner of your tier list and select Compare.
On this page, you can see how each contributor ranked the items and view the community’s combined results. You can also access the comparison in Presentation Mode by opening the dropdown menu in the top-right corner.
This is a great opportunity to create a follow-up video discussing the results with your community, comparing your rankings, and reacting to their choices!